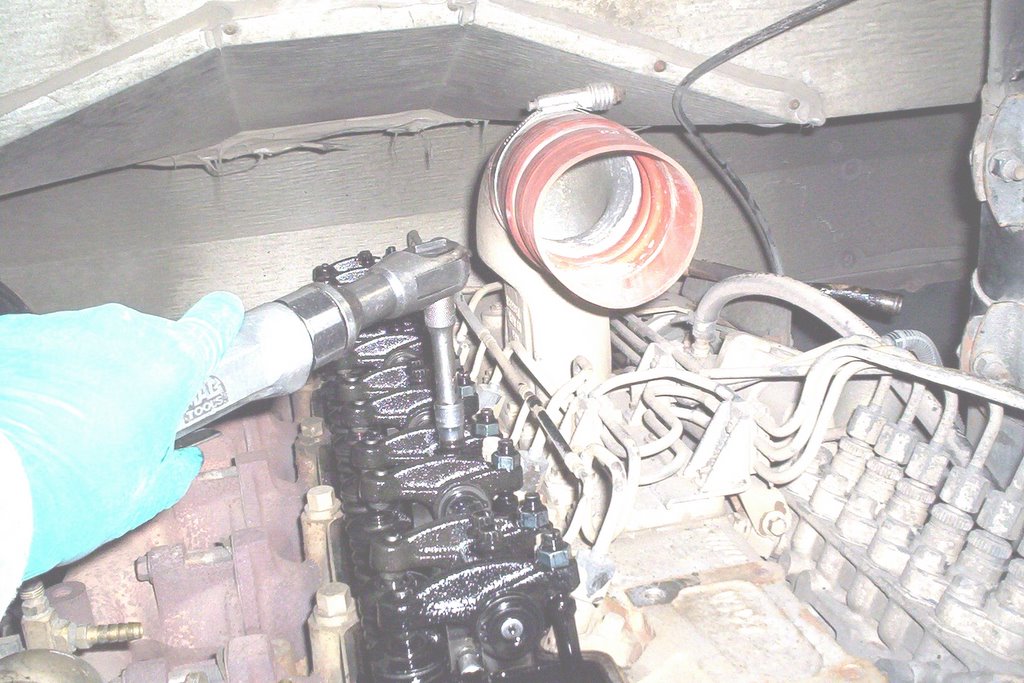
 With the turbocharger removed the next step is to remove the rocker arms and pushrods. There is also an aluminum oil manifold that sits underneath each rocker arm. A Cummins diesel engine installed in a Thomas school bus has mimimal clearance at the rear so the last 5 pushrods cannot be removed yet. There is a technique we use that's simple and saves time, I'll demonstrate this in my next post.
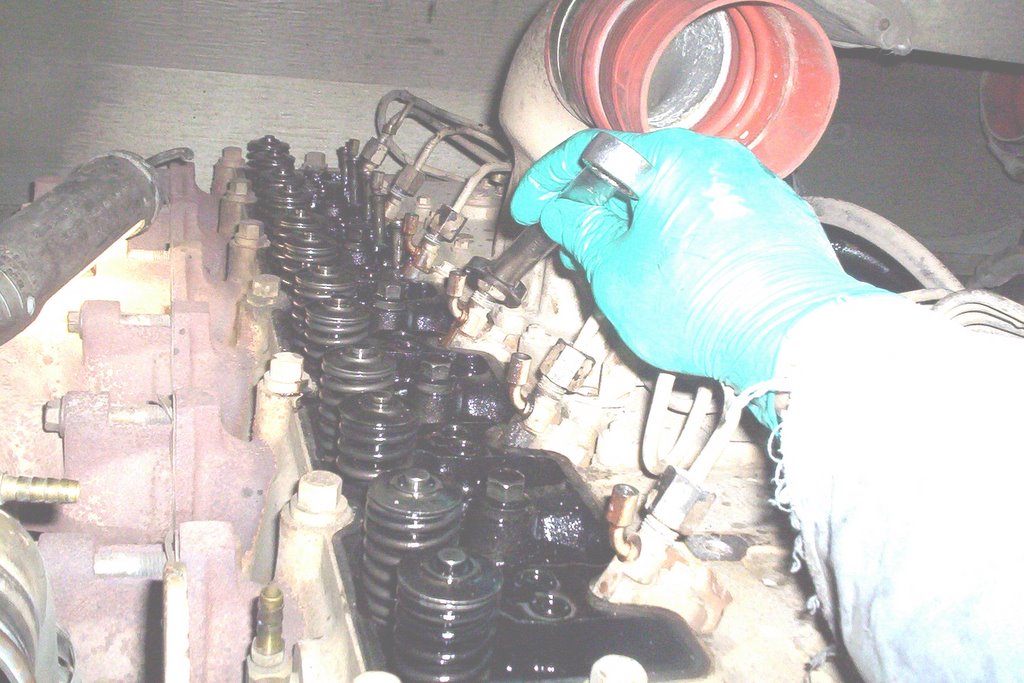 Once the rocker arms are removed it's much easier to take off he injector fuel lines. They must be removed completely, along with the return lines. There is a manifold at the fuel filter head, the banjo fittings must be removed there as well. Remove the fuel line hold-down bolts which are also the intake manifold mounting bolts. Remove intake manifold.
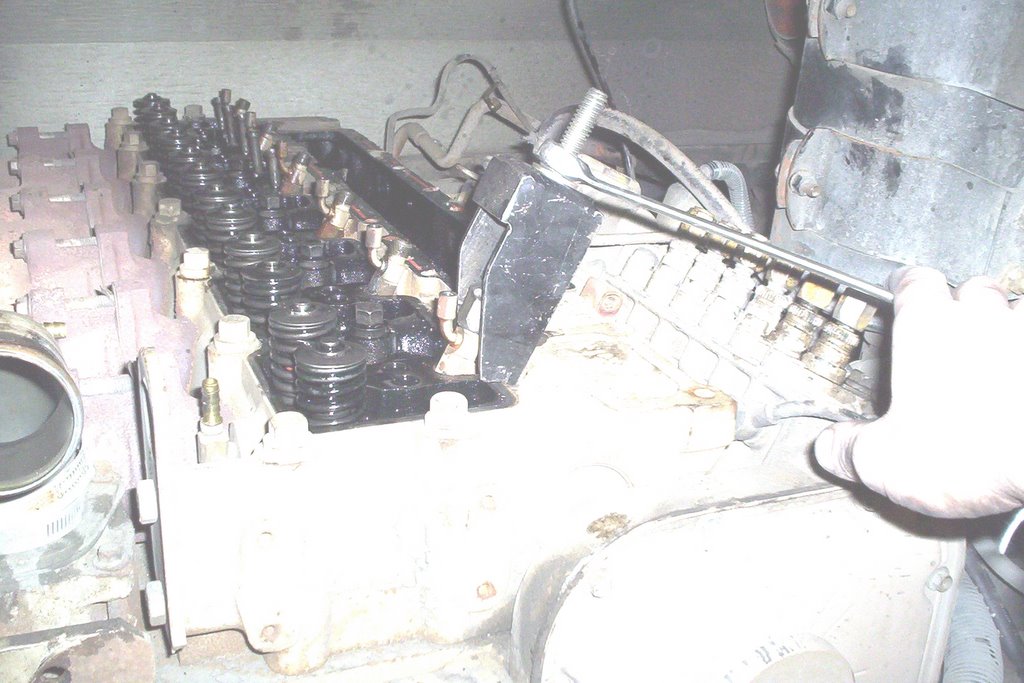 The injectors MUST be removed before taking off the cylinder head to prevent damage to them. After removing injector hold-downs remove injectors with a suitable puller. The exhaust manifold may be left on for convenience. Remove all of the cylinder head bolts. I usually CRACK them loose by hand and use a 3/8 air ratchet where accessibility is limited. The cylinder head is ready for removal.
That will be shown in my next post....
No comments :
Post a Comment