Showing posts with label fleet Mechanic. Show all posts

Saturday, December 27, 2014

Mechanic Repairs In The School Bus Garage


Various School Bus Repair Photos From The Bus Garage

Every day mechanic duties change and this video is a small example of what goes on in our school bus garage. The diesel mechanic jobs involve the ISC Cummins and Mercedes MBE 900 diesel engines. These 2 engines are the oldest in our fleet and have given us some trouble because of age and mileage but we always repaired them as needed with the proper tools and software.

There are also small repairs which include oil and coolant leaks, Air brake system leaks and periodic brake jobs. Electrical problems are consistent with multiplex wiring on the newer models that use modules to run lights, motors and accessories.

One important tool that every diesel mechanic must have is the appropriate software for troubleshooting engine codes and performing static and running tests to find out what diesel component is failing or has failed completely.

Many times the engine code will tell the mechanic that the EGR exhaust gas recirculation valve is not in the right position. That's one of the easiest problems to have since 9 times out of 10 the EGR is sticking because of a heavy soot buildup.

Multiplex Wiring

Multiplex wiring is a common problem in the electrical department. Using the AccessFreightliner website is essential. If you go into the "PartsPro" section and enter the last 6 digits of the vehicle ID you can find an excellent schematic of the modules and other wiring systems. Doing a "search" and entering a keyword like "ABS" for example will bring up a schematic for the antilock brake system.

If you don't have a user and password for accessfreightliner phone the dealer and ask them about getting one. I'm not sure what the rules are but it's worth a try especially if you own Freightliner trucks or buses. In our case the buses are the C2 conventional saf-t-liner. They came to our fleet in 2005. Before that year the freightliner school bus was made out of the FS65 medium duty truck chassis.

The EOS Electronic Oil Separator

The video shows an EOS (electrostatic oil separator). This piece is part of the valve cover and separates the crankcase gases from the liquid which is funneled back into the crankcase while the vapors are routed back into the intake. This component costs 800.00 if it comes time replace it. If you get an EOS engine code you're stuck with ordering a new one. That's the downfall of getting into emission controlled engines. You need a healthy budget to repair them.

The Cummins VGT

The Cummins B 6.7 liter diesel engines in our fleet are great runners but if you have to replace the turbocharger in our case there was oil leakage into the intake side (compressor wheel). It cost 2400.00 for the VGT variable geometry turbocharger reman and a fair bit of labor to do the re and re.

The VGT is a great design and not only changes it's angle to act as an exhaust brake but also helps the engine do a regen by blocking the exhaust flow to develop engine heat for a faster and more efficient regen. That's all I want to say for now ...thanks for the visit and please leave a comment below. I would like to hear some feedback from you.



Monday, May 23, 2011

DT 466 International Diesel Engine In-Frame - Removing Radiator Assembly.


The International DT 466E  Diesel Engine that's running in a school bus is more accessible by first removing the hood as in the previous post. The Mechanic does not need to be standing on his head to dis-assemble everything.

The radiator assembly comes out as a unit. You can see from the photo these models have a split radiator and charge air cooler. You might think half of a normal radiator might cause a problem but we have not experienced anything major besides deterioration over time of the radiator core. Usually they cannot be repaired and a complete unit needs to be installed in case of any failure. This radiator had been replaced not too long ago so all a Mechanic has to do is remove the radiator and send it out to be flushed and checked at a radiator shop.

Thinking ahead is a good practice for any Mechanic performing a major overhaul like this one. The radiator, turbo, oil cooler, water pump, charge air cooler and cylinder head all needs to be inspected carefully right away and either sent out or repaired which ever is the most practical. Stand by for more Mechanic Information on our in-house DT 466 International Diesel Engine Rebuild. 

Saturday, January 29, 2011

Cummins Diesel Engine Fuel Injection Pump Installation

The Cummins Diesel [Engine Model 'C'] fuel injection pump has been repaired, but there are still a few steps to take.


TIMING FUEL INJECTION PUMP:
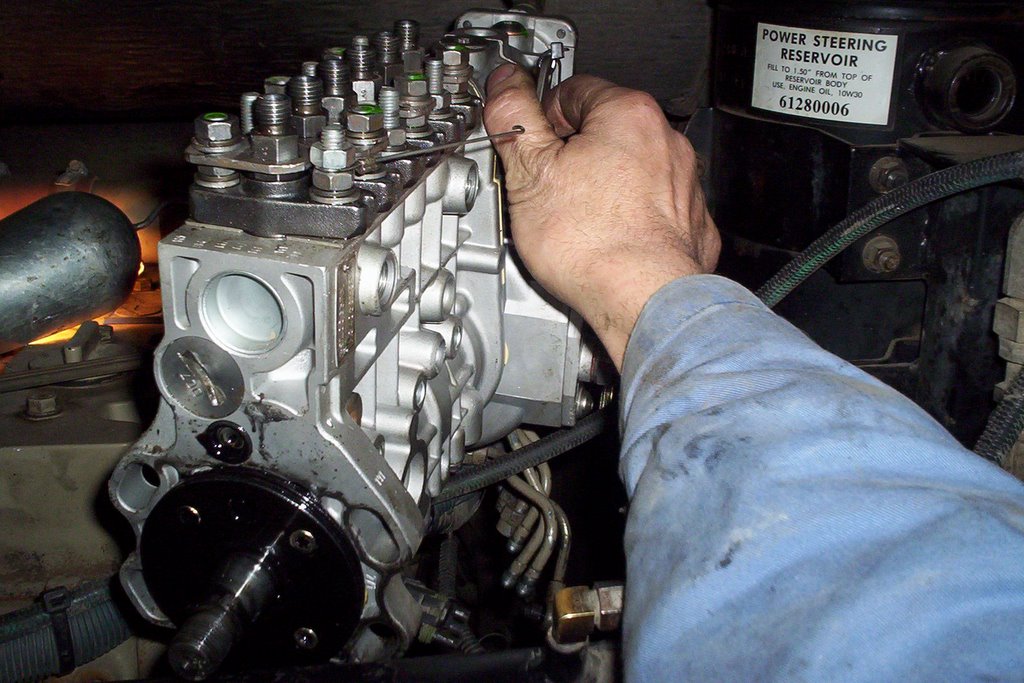
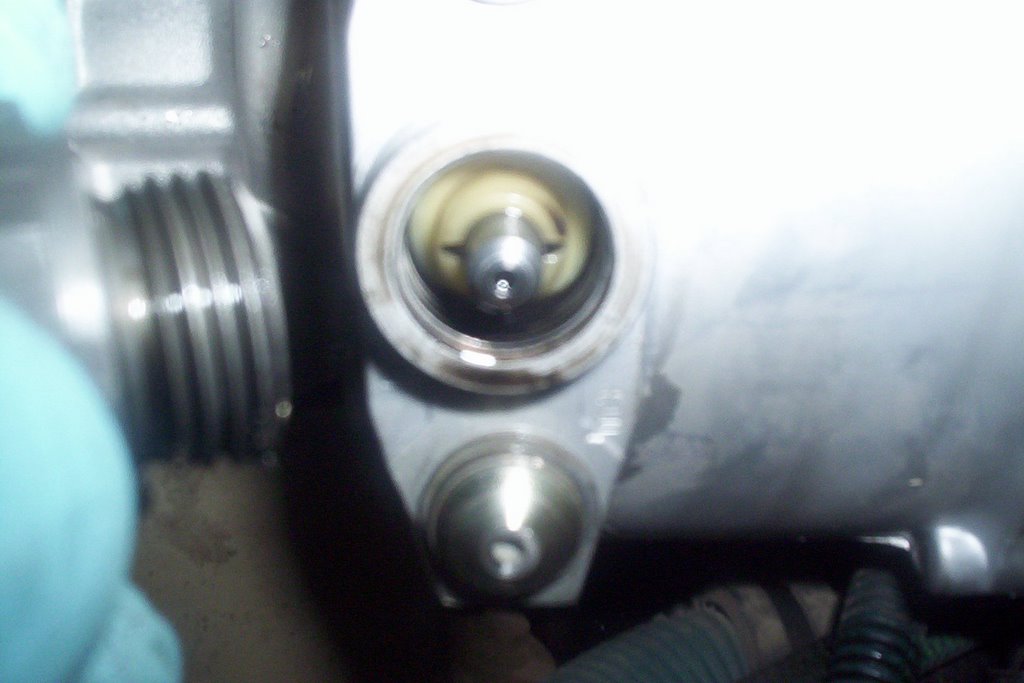
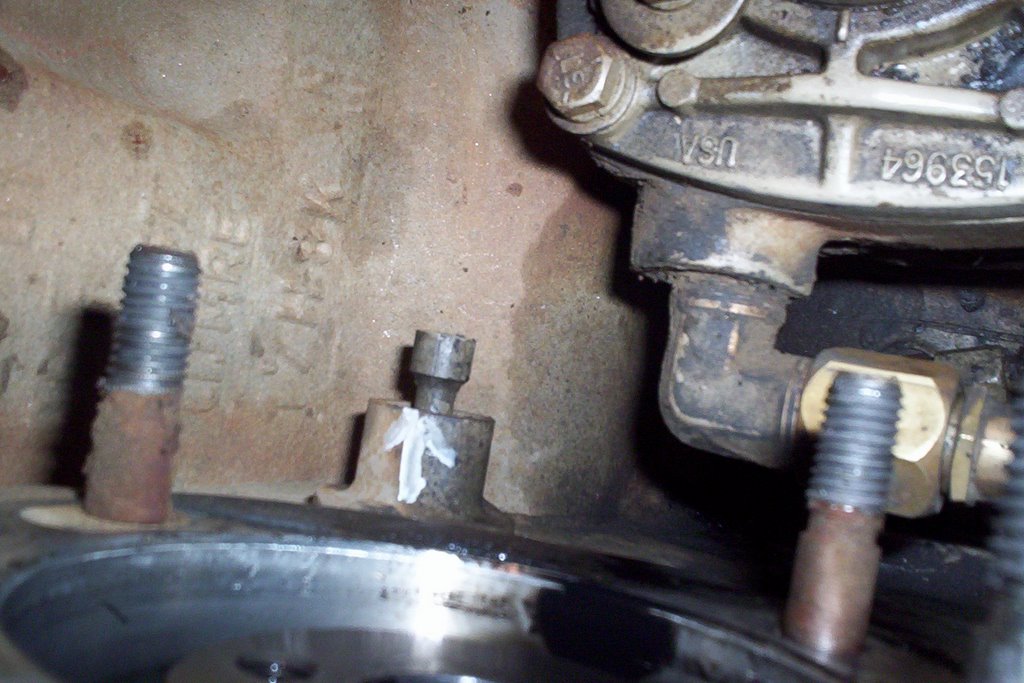
The fuel injection pump MUST be timed by removing threaded hex cap located on the throttle shaft side of the housing. Remove timing pin from access hole and rotate the pump by hand until the timing tooth inside pump housing lines up with the middle of the access hole.
Engage slotted timing pin as the picture above shows. Install threaded cap hand tight until after injection pump is installed. The injection pump is now in the proper timed position.


PRE-LUBE INJECTION PUMP:
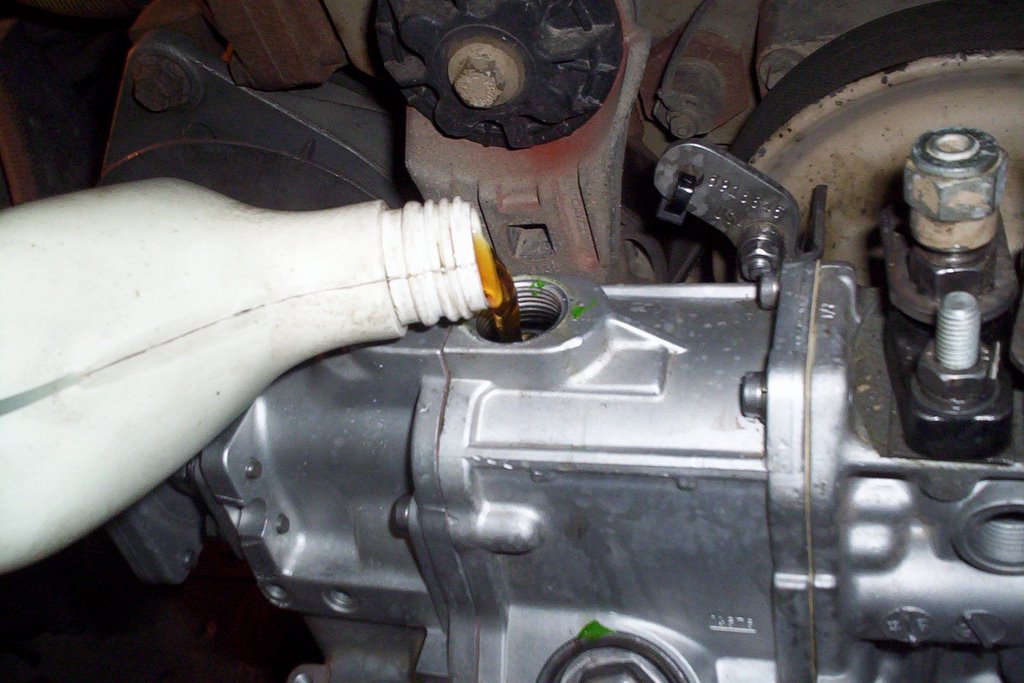
When a repair has been made on these pumps they must be pre-lubed with engine oil. Remove top plug from the governor housing with an Allen wrench. This particular model requires .71 Litres [24 oz.] . Failure to do this could cause damage during start-up.


TIMING THE ENGINE:
The next step is to time the engine by rotating clockwise [viewed from the front] while pushing on timing pin until it engages into the camshaft gear. Engine is now properly timed, the fuel injection pump is ready to INSTALL.


After the 4 mounting bolts are tightened, torque accessory drive gear retaining nut to 106 in. lbs. then DISENGAGE BOTH TIMING PINS. The injection pump timing pin just pulls out, flips around and stays installed on the pump for next time. The engine timing pin just pulls back and stays put.


TORQUE DRIVE GEAR RETAINING NUT:
Now it's time for the final torque 144 ft. lbs. NOTE: torque specs will vary depending on the injection pump model. Now it probably makes sense to you why it's important to disengage both timing pins. They will sheer off very easily being made out of plastic and debris will get into the injection pump housing or engine timing gear housing.


BLEEDING THE FUEL INJECTION SYSTEM:
Once the lines, linkages and accessories have been assembled it's time to bleed the system. Loosen bleeder plug located on the engine side of the injection pump. Operate transfer pump by hand until all air has been bled out of bleeder plug. Tighten bleeder plug.
Crack as many injector lines as you can at each cylinder and crank over engine until there is evidence of fuel at each injector. Stop cranking and tighten injector lines, start cranking engine once again and before you know it you'll have a smokin' diesel engine!

Wednesday, December 15, 2010

Bleeding Diesel Fuel System - Mercedes MBE 900 Engine

We learned the hard way & experienced troubles trying to prime the Mercedes MBE 900 Diesel Engine. It was a chore trying to get it started again after it ran out of fuel.
Pressurizing the fuel tank and bleeding the system at the fuel lines was tedious and a crude method to say the least.
Most of these engines come from the factory with a quick coupler located at the fuel filter housing. The 2005 and earlier models have to be installed with the new coupler, a kit can be obtained from the Mercedes dealer.


We acquired the female quick coupler from the local dealer and added a  hose along with a stainless steel pressure tank similar to a lawn fertilizer set up.  There isn't a lot of  pressure required to bleed the fuel system, all it takes is 5 p.s.i or better. There is a bleeding apparatus available that we are looking at picking up. I will re-post when it arrives and give it a test drive.


This tank has to be topped up with diesel and pumped continuously while a second person cranks over the engine. It works great and saves a lot of wear and tear on the starter!

Note: there is a Technical Service Bulletin on the Thomas C2 School Bus models having a defective fuel gauge senderThe sender must be removed and tested with an ohm meter. We had some incidents on one of our C2 units running out of fuel prematurely.

Once you get this pressure tool all set up it will make removing the air from a Mercedes MBE 900 Engine fuel system much easier.

Tuesday, November 30, 2010

Mechanic 12 Volt System Troubleshooting-Reverse Warning System Stuck On

Working on a fleet of buses has some amusing moments. Especially when 12 Volt systems and moisture come into play. Mechanics go to school to get the basics, then you need to use those basics and go much deeper. Experience indeed is the best teacher and mechanic information on symptoms and troubleshooting can be shared and recorded for the benefit of the entire shop and right here on this blog for future use.

Below is what I call a 'Mechanic's Special'

The driver complaint is the back up alarm and reverse lights come on all the time even in neutral. So the first thing to think about is what could possibly cause this to happen without touching the controls. With the key on we have full operation of the back up warning system. The HDX Thomas pusher we are working on has the VIM (vehicle interface module) mounted above the steering axle (Lots of snow and ice). This is the first place to check since the interface module receives the reverse signal from the Trans ECU after the driver selects reverse.   CLICK ON PICTURE TO ENLARGE.
The VIM has relays and fuses (BELOW) to control the circuits on the chassis side of the bus including the high idle, neutral start and reverse warning. Luckily once we pulled off the lid to the VIM we heard a buzzing noise. This is not normal and is a mechanic troubleshooting red flag, you want to look for abnormal mechanical situations.

After opening the VIM up the problem was obvious. The corrosion was making a circuit from battery to the reverse warning system. Moisture, oxygen and 12 Volt electrical circuits love each other and create double trouble after uniting for a given period of time.
Here is my 'KEEP IT SIMPLE' drawing (BELOW) of the circuit in question. The operator chooses reverse, the transmission shifts and the reverse signal is fed to the Vehicle Interface Module to the reverse relay and 12 Volt power feeds the reverse alarm and lights.


Once you know how a circuit works it makes the problem solving much easier and common sense will prevail. This problem can happen anywhere so be prepared. Checking electrical problem circuits and components closest to the environment pays off more times than not. I hope you got something out of this Mechanic Information.

Please leave a comment below and share any 12 volt electrical experiences you've had in the past or just let me know you got something out of this info.

Wednesday, September 01, 2010

MaxxForce Advanced EGR Has Arrived

International Corporation took a different approach to 2010 emissions. They went away from the UREA liquid process that other engine manufacturers are using. The video will give you an overview on how their new EGR technology works.

MaxxForce Advanced EGR has no equipment to add allowing extra payload capacity (and no body mounting issues). It does not require any liquid urea which cuts costs and extra stops to fill-up.

For 2010 the EPA requires diesel exhaust emissions to be reduced by 98%. The environment is on a lot of people's minds right now and the clean air movement is not going to slow down. It caught other engine manufacturers off guard so they fell back on liquid urea SCR, a technology that requires you to add after-treatment equipment and regularly fill up with liquid urea. International® took a simpler approach, perfecting its proprietary Advanced EGR system.


MaxxForce Advanced EGR reduces emissions internally with their diesel engines. It simply recirculates part of an engine's exhaust back to the cylinders, slowing and cooling the combustion process and burning off pollutants. MaxxForce Advanced EGR achieves greatly reduced emissions through a combination of increased injection pressure, improved exhaust flow and refined calibrations–and absolutely zero extra effort from the truck and fleet owner.

As a fleet Mechanic it's refreshing to know all we have to do is get in and drive. The add on equipment with SCR system sounds like an afterthought, like there was no time to change the engine design so UREA was the logical solution. This technology treats the exhaust after the engine 4 cycle process so there is a notable difference in the 2 systems.

Only time will tell which design will gain more popularity. I have to commend the engine manufacturers who bit the bullet and are still striving to meet the extremely strict emission standards put forth by the environmental watchdogs.