
Coolant Testing the coolant is of course very important and changing the coolant and thermostats should also be considered. Cummins promotes DCA (dry chemical additive) checks, to make sure the system is not overcharged or undercharged. DCA prevents liner pitting by reducing air bubbles forming in the cooling jackets. Changing the coolant (non lifetime brands) with the thermostats every 2-3 years isn't a bad idea since coolant eventually breaks down and the acidic build up that forms starts to eat up gaskets and castings.
Belts and Hoses who doesn't know the importance of these bad boys. They get the most abuse from constant tension, heat produced from driving the belts and hot/cold temperatures on the hoses. I always say "when in doubt change it out". Pulley bearings and belt tensioners need to be checked out and the cooling system should be pressure tested. School buses have 1 inch cooling lines throughout the bus interior and need to be observed for leaks and loose clamps.
Batteries batteries can either be load tested once a year preferably in the fall or changed when needed. Sometimes the latter happens at the most inconvenient time when it's cold, wind blowing ....a spare bus (in my case) needs to be fired up from a cold condition. So we generally do the yearly load test and go from there deciding what step to take next.
Block Heaters Most buses in our fleet have the conventional block heater system. Our plug-ins are timed in cycles to come on during certain ambient temperatures. We test them at every service to stay on top of 'no start' conditions in the cold. A couple dozen of our newer buses have diesel heaters that have timers so they come on a couple of hours before the run.
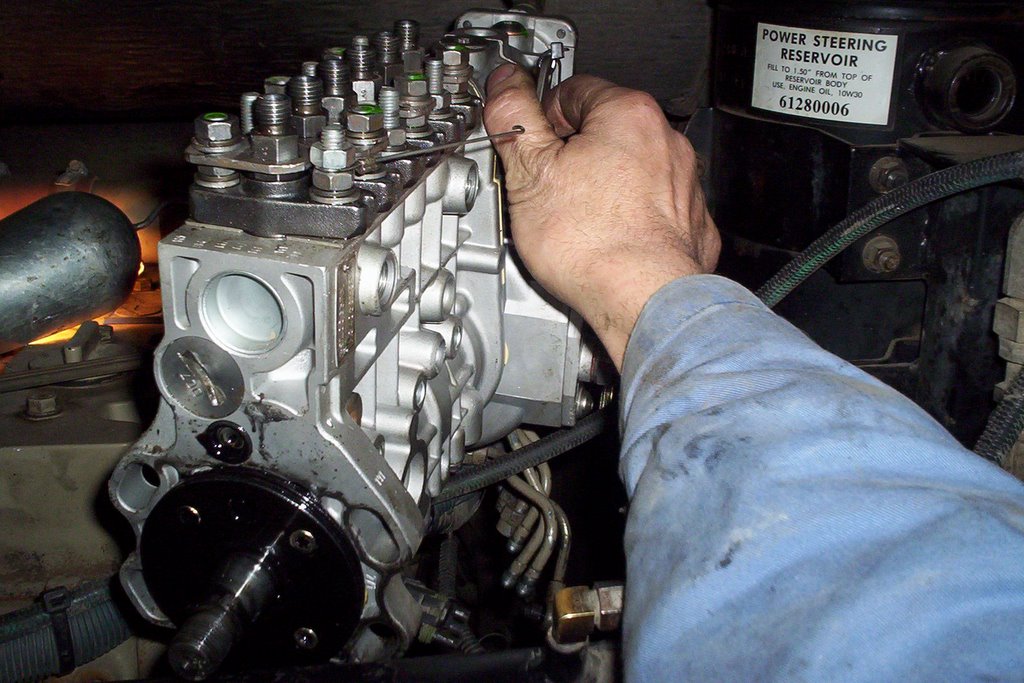
Tune Ups Mechanics know the advantage of keeping an engine tuned up. Easier starts less fuel burned is the main objective. Valve sets, fuel filters and air filters are all you can really do to a diesel engine especially with newer models. Checking for engine codes doesn't hurt, some codes do not light up on the dash and become inactive. Common sense helps in this area of maintenance and needs to be applied looking at everything that makes a highway vehicle function. The regular Mechanic or the 'Mechanic in you' can figure this stuff out.


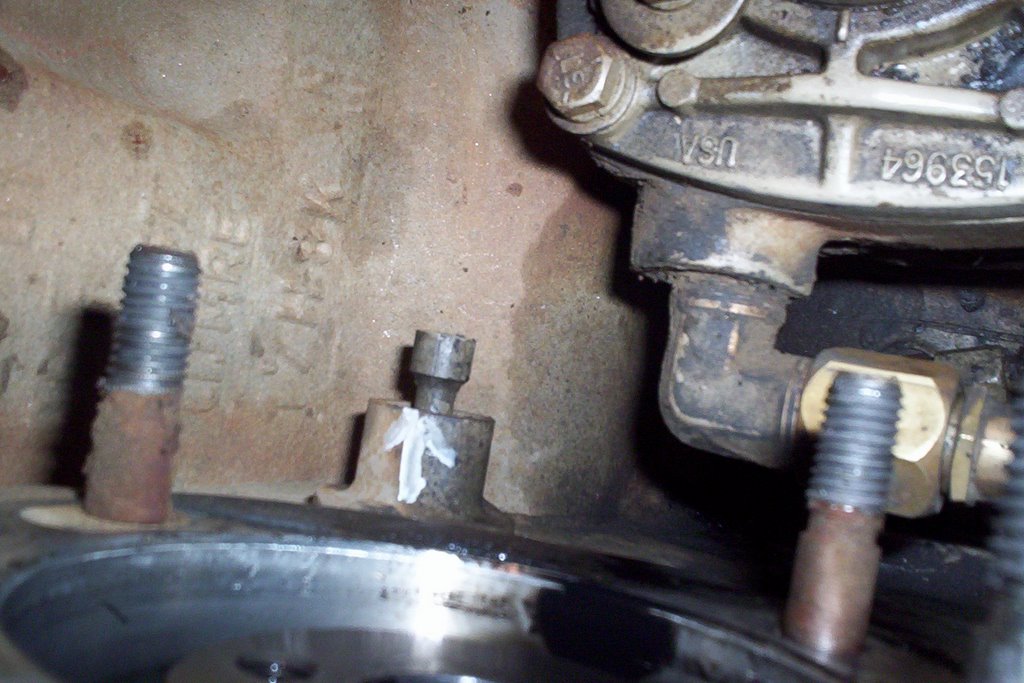


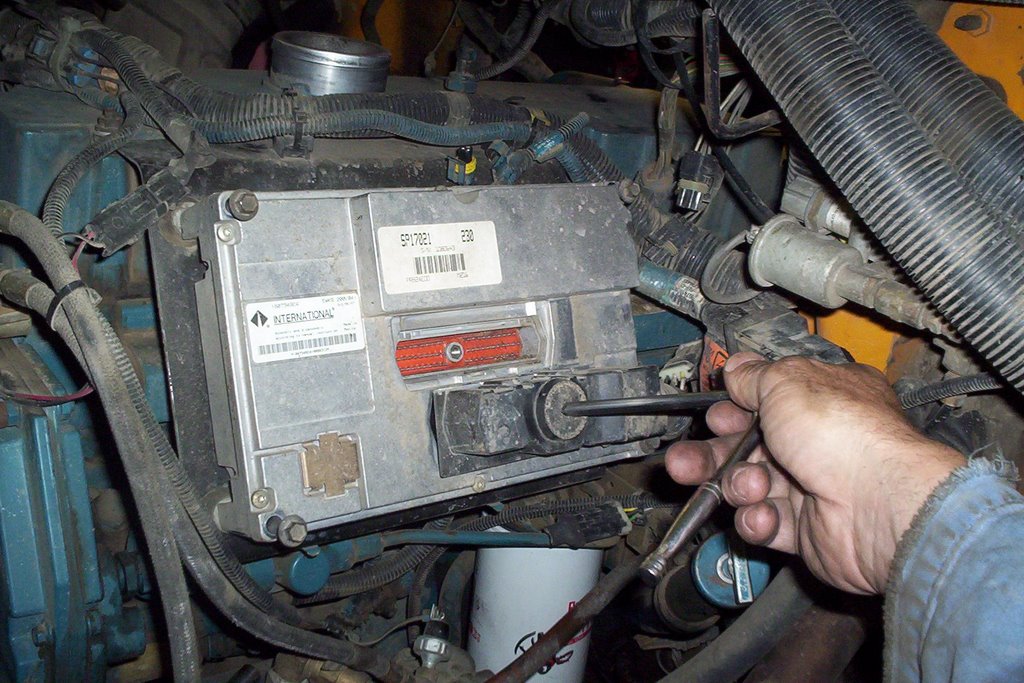


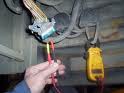


 After running a temporary ground the engine started. So obviously we had to check the ground connections on the firewall and the frame. After some digging there was a broken connector to a frame ground below the cab. Once repaired, the engine was back to normal once again.
 This particular


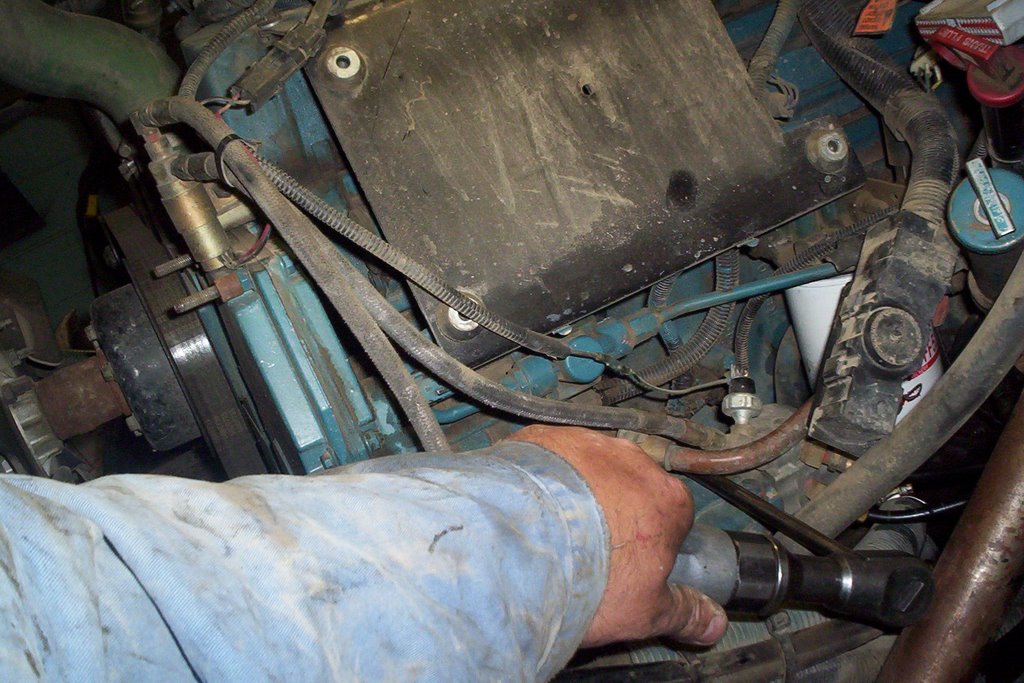
 If you have to do this job in a Thomas ER Pusher Bus you will have to remove the rear engine mounts and lower the engine enough to get the rear