The Cummins Diesel [Engine Model 'C'] fuel injection pump has been repaired, but there are still a few steps to take.

TIMING FUEL INJECTION PUMP:
The fuel injection pump MUST be timed by removing threaded hex cap located on the throttle shaft side of the housing. Remove timing pin from access hole and rotate the pump by hand until the timing tooth inside pump housing lines up with the middle of the access hole.
Engage slotted timing pin as the picture above shows. Install threaded cap hand tight until after injection pump is installed. The injection pump is now in the proper timed position.
PRE-LUBE INJECTION PUMP:
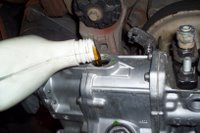
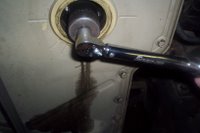
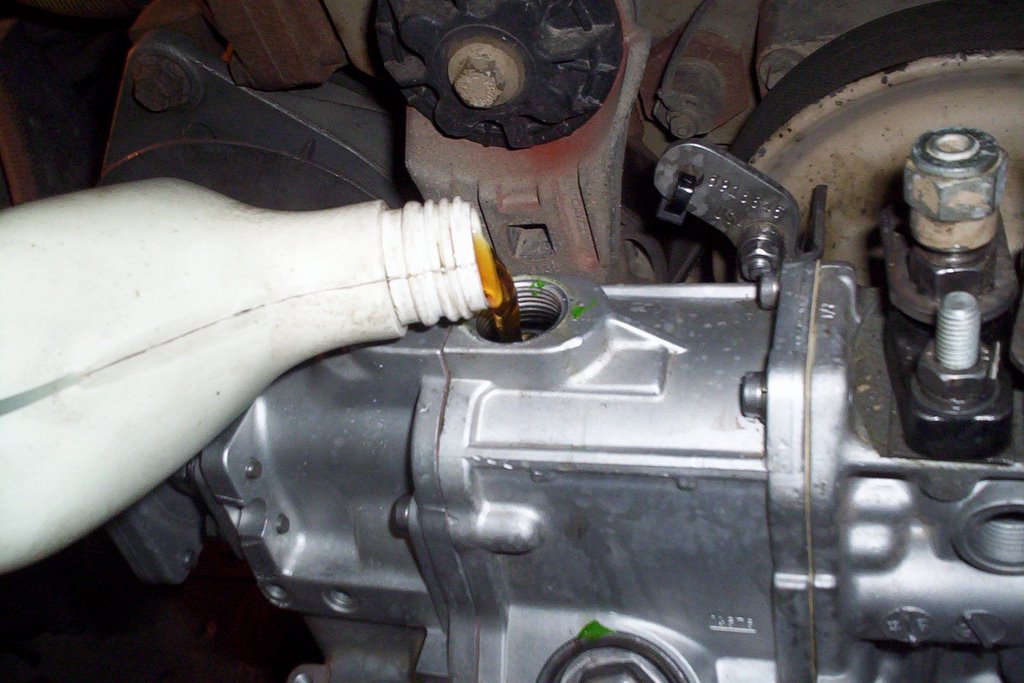
When a repair has been made on these pumps they must be pre-lubed with engine oil. Remove top plug from the governor housing with an Allen wrench. This particular model requires .71 Litres [24 oz.] . Failure to do this could cause damage during start-up.
TIMING THE ENGINE:
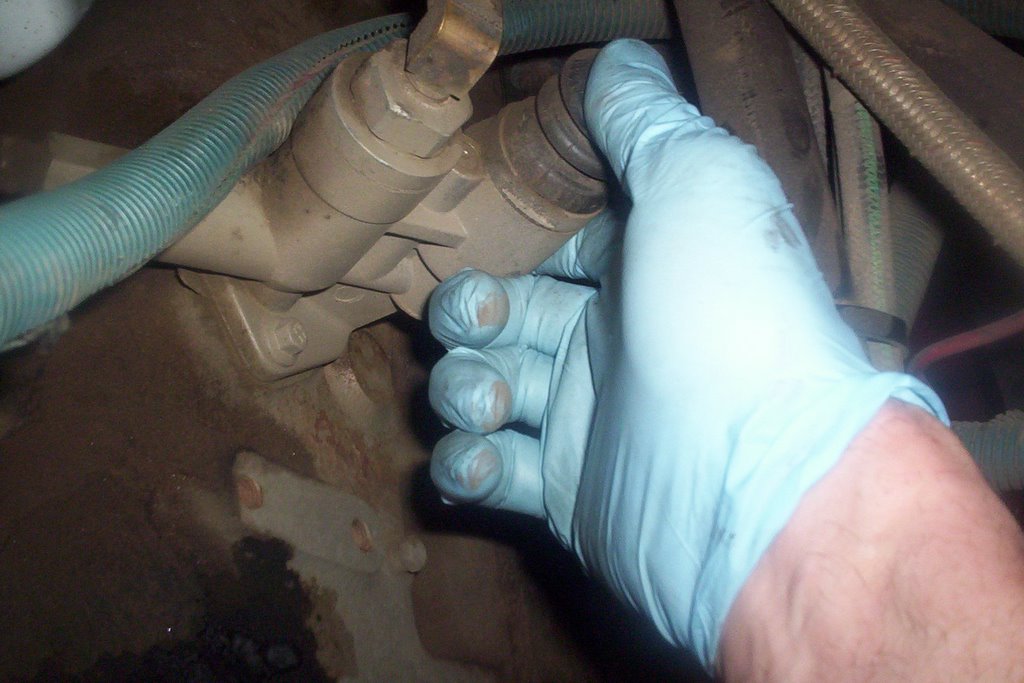
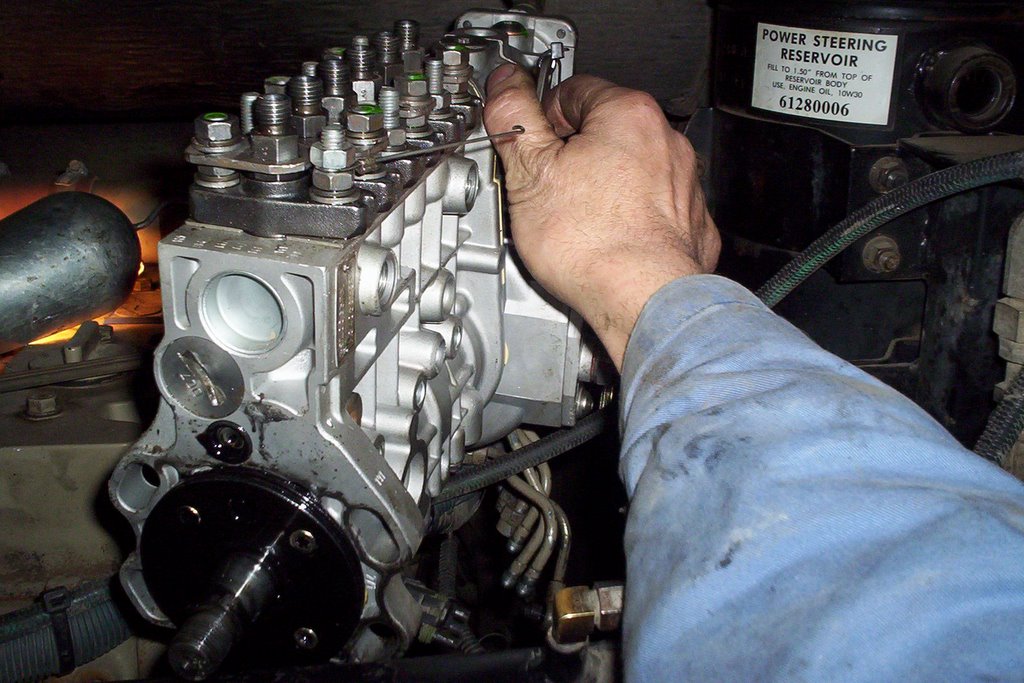
The next step is to time the engine by rotating clockwise [viewed from the front] while pushing on timing pin until it engages into the camshaft gear. Engine is now properly timed, the fuel injection pump is ready to INSTALL.
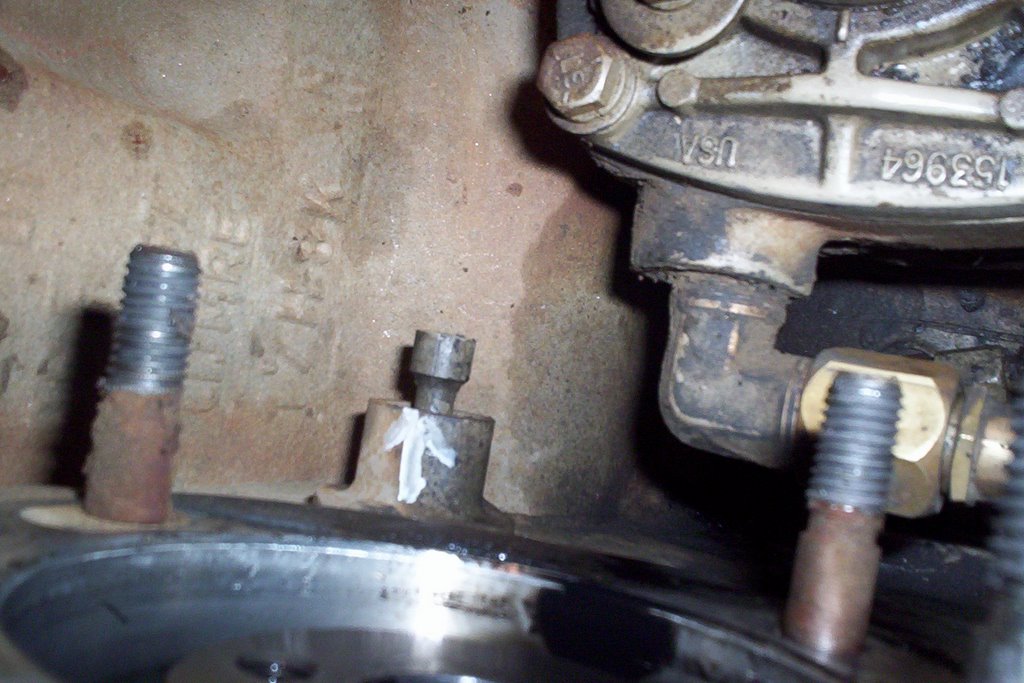
After the 4 mounting bolts are tightened, torque accessory drive gear retaining nut to 106 in. lbs. then DISENGAGE BOTH TIMING PINS. The injection pump timing pin just pulls out, flips around and stays installed on the pump for next time. The engine timing pin just pulls back and stays put.
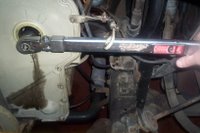
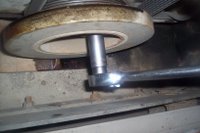
TORQUE DRIVE GEAR RETAINING NUT:
Now it's time for the final torque 144 ft. lbs. NOTE: torque specs will vary depending on the injection pump model. Now it probably makes sense to you why it's important to disengage both timing pins. They will sheer off very easily being made out of plastic and debris will get into the injection pump housing or engine timing gear housing.

BLEEDING THE FUEL INJECTION SYSTEM:
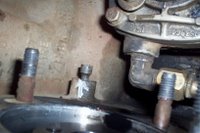
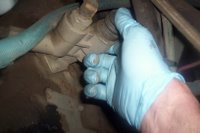
Once the lines, linkages and accessories have been assembled it's time to bleed the system. Loosen bleeder plug located on the engine side of the injection pump. Operate transfer pump by hand until all air has been bled out of bleeder plug. Tighten bleeder plug.
Crack as many injector lines as you can at each cylinder and crank over engine until there is evidence of fuel at each injector. Stop cranking and tighten injector lines, start cranking engine once again and before you know it you'll have a smokin' diesel engine!


 The Cummins Diesel [Engine Model 'C'] fuel injection pump has been repaired, but there are still a few steps to take.
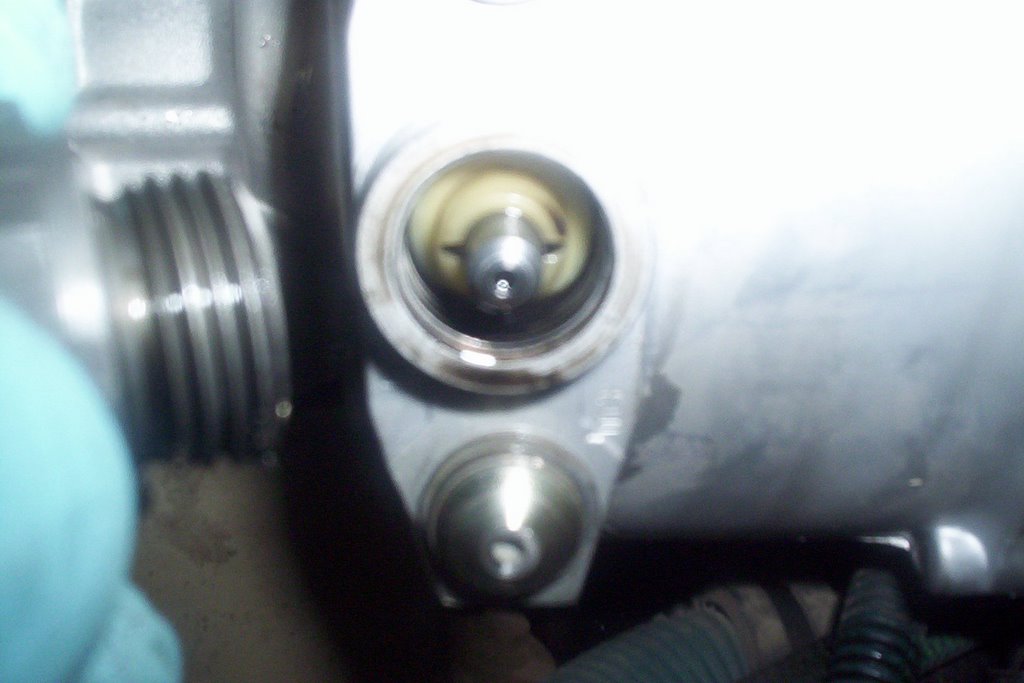

 After the 4 mounting bolts are tightened, torque accessory drive gear retaining nut to 106 in. lbs. then DISENGAGE BOTH TIMING PINS. The injection pump timing pin just pulls out, flips around and stays installed on the pump for next time. The engine timing pin just pulls back and stays put.